
It is well known that the average adult spends more time at home than anywhere else. Understandably, you’d want to keep it looking neat and vibrant. Aside from keeping pests and intruders out, the fence has a significant impact on the overall appearance of a home. A beautiful fence indicates a beautiful home and a beautiful home indicates a significantly happier life.
Proper fence maintenance ensures that it lasts as long as possible. The type of home fencing varies according to personal preferences, affordability, and durability. Among the various fence types are:
- Chain link fence
- Wooden fence
- Brick fence
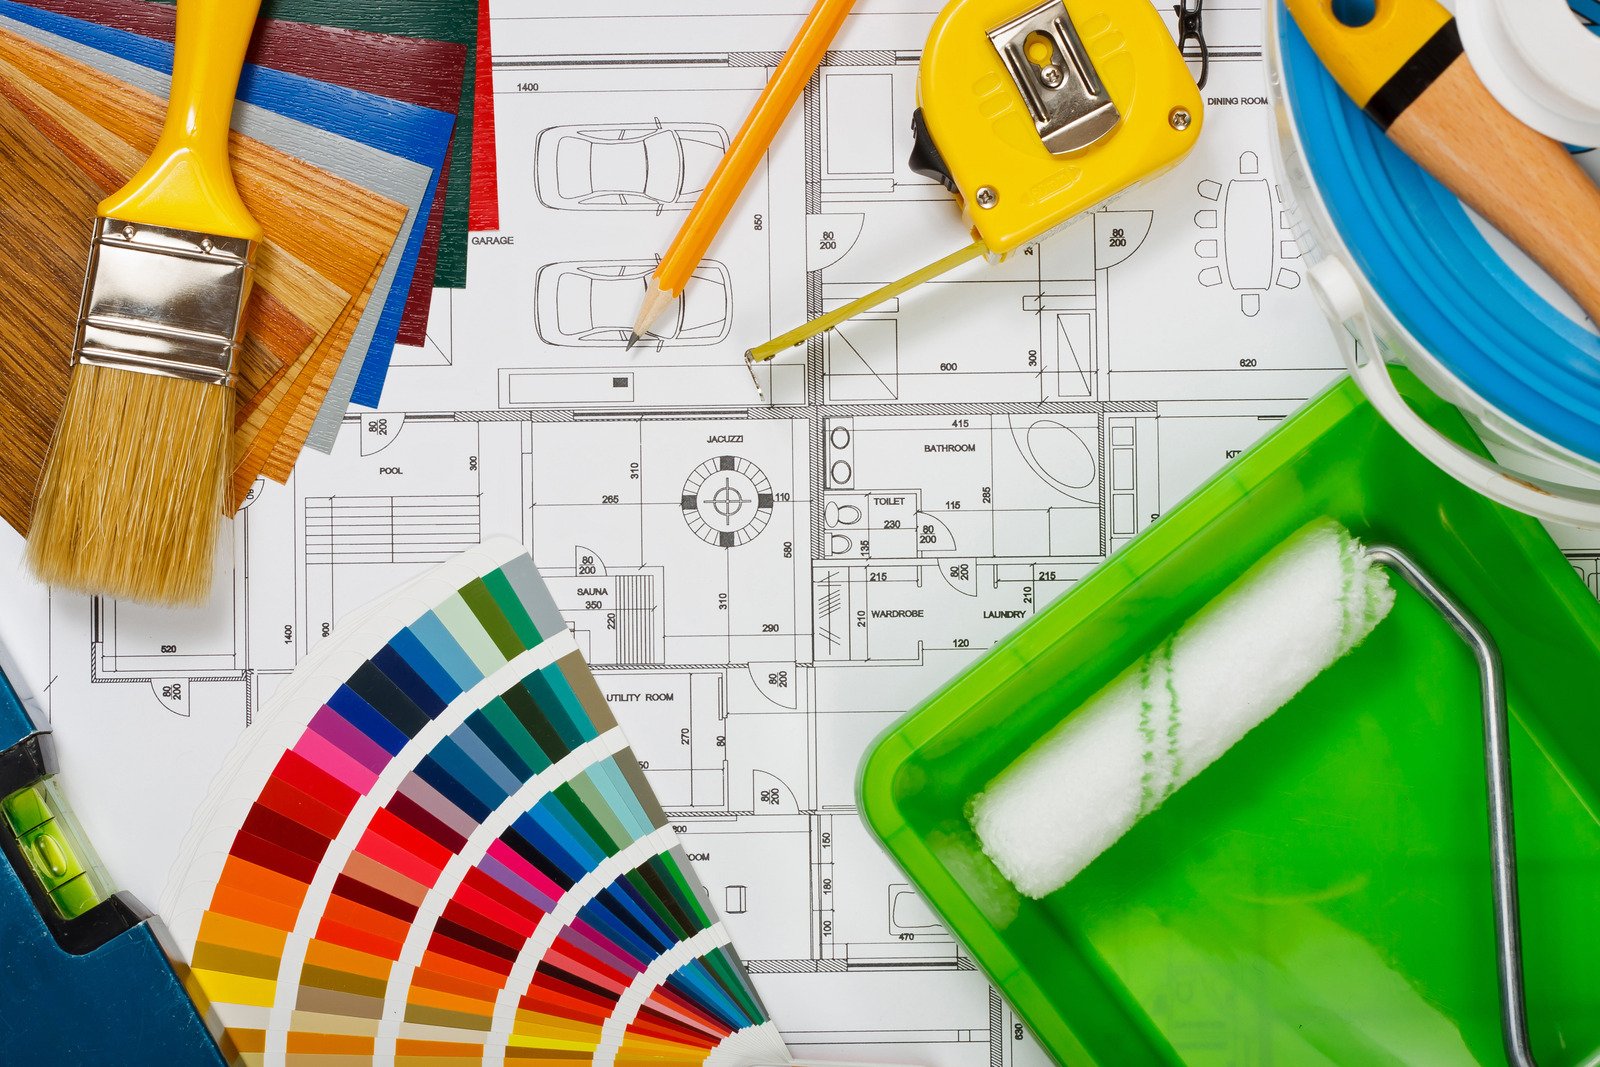
Tools Needed for a Wooden Fence Painting Job
Is it possible to paint over your wooden fence? The answer is an unequivocal yes. One of the most common fence maintenance practices is painting over the fence. To ensure success when painting a wooden fence, make sure you have all of the necessary tools. Here is a list of the equipment you will require:
- Wood fence boards
- Hammer
- Large tarp
- Garnet sandpaper
- Paint scraper
- Rust-resistant nails and screws
- Plastic sheeting
- Detergents and Bleach
- Warm water
- Scrub brush and Rag
- Fence cleaner
- Exterior wood fence paint
- Exterior Wood Fence Primer
- 2-5″ paintbrush and roller
- Paint sprayer or paint gun
- White spirit
The above equipment is used in stages to achieve different results when painting your wooden fence in various modes. The project also necessitates the use of equipment such as face masks, safety goggles, and a step ladder. We’ll go over some tips for painting a wooden fence down below. Painting a wooden fence can be time-consuming and tedious. Nonetheless, a fresh coat of paint can go a long way toward keeping a home looking nice and vibrant.
Fast and Easy: Paint Your Wooden Fence
Fences can be painted with either a paintbrush or a sprayer. It’s important to note that both methods necessitate a high level of precision and attention to detail in order to achieve a uniform coat of paint. The best way to paint fences is to follow these simple guidelines to ensure that you paint your fence with ease and finesse.
Painting the wood seal can help extend its life and protect an important investment. A primer coat will almost certainly be required for maximum adhesion and an optimal finish, depending on the type of fence. From now on, the best paint to use is high-quality latex paint. These layers make your wooden fence impermeable to pests and water.
Good paintbrushes can help you improve your painting skills when it comes to wood fences. Using a roller or brush is much more efficient and uses less paint. When painting your wooden fence, using rollers on flat surfaces is more efficient.
1) Prepare the fence.
Painting a wooden fence entails more than just stroking with a brush. A thorough understanding of the type of wood used in the fence will aid in preventing damage to the wood fence. Before you begin painting your wooden fence, the area must be cleared and the grass mowed. The area must be cleaned and the residue removed. Remove all movable items from the area. To begin, dust and remove cobwebs from the fence before cleaning it with detergent, bleach, and a power washer.
Smooth the surfaces with sandpaper to remove the older layer of paint if you plan to paint a fresh coat over an already-painted fence. As a result, the coat appears even and uniform throughout.
All of the paint you use must be specially formulated for use on wood fences. The paints used in wood fence painting are strong and long-lasting. It will extend the life of your wood fence and reduce the need to repaint it after a short period of time.
2) Assemble your equipment.
In wood fence painting, different tools are used for different jobs. The more tools you have, the more likely your fence painting will be of high quality. Make sure you have all of the necessary equipment before the deadline. When using power tools, extension cords can come in handy. A step ladder, an overcoat, gloves, painter’s tape, and paint are all required tools. Purchase a variety of tools to allow you to make any necessary repairs while inspecting the fence before painting it.
3) making necessary repairs.
To level the surface, fill in ditches and lower small heaps of soil around the area. Rusted nails should be replaced, and the fence’s integrity should be restored. Use a mallet to hammer the loose nails back into place. Replace damaged boards and reinforce the fence with additional planks. This is an important step in ensuring that your wooden fence is strong and well-maintained.
4) Check the climate.
The weather in the area where your property is located will determine how frequently you will need to re-paint your wooden fence. The primary reason for painting a wooden fence is to apply a water-resistant coat of paint to prevent water from penetrating the boards and destroying the fence’s integrity. Hiring a professional painter has benefits.
If you are unsure whether your fence requires repainting, consult our experts, who will assess the wooden fence and plan an even repainting schedule that takes into account all factors.
Pouring a small amount of water on the wood in question is a simple trick for testing the worthiness and water tightness of a painted wooden fence. If the water sips in, the fence must be repainted, but if it beads up on the surface, the fence remains intact.
5) Use a wooden fence cleaner.
Sandpaper is used to smooth and even surfaces after making replacements, repairs, and alterations. After thoroughly cleaning the wooden surface with a recommended wooden fence cleaner, use a hose to wash away debris, stains, and dirt, leaving you with a clean, smooth finish. To achieve the desired results, carefully read the instructions for using the cleaner and other solutions.
6) Research the best painting technique.
When painting a wooden fence, it is critical to use the appropriate painting technique as directed by an expert. It is necessary to conduct a pre-assessment of the wooden fence to be painted to determine which tools to use for painting a fence. Clear information on painting techniques will best guide you through the steps required. An expert painter can combine the appropriate tools and steps to paint your ideal wooden fence.
7) Pick the ideal oil-based paint.
Aside from painting techniques, selecting the best paint and primer to use is critical. According to experts, certain oil-based paints and primers soak into the wood much better than others; the coat will last longer before needing to be repainted. A thorough investigation will aid in the selection of the most reliable and ideal brand of paint and primer for painting a wood fence.
In some cases, more than one coat of paint is required. To avoid setbacks and inconveniences during the painting process, it is critical to purchase all of the necessary paint and primers before beginning. Other aspects of the paint to consider include the best color and shade, as well as the best paint for exterior use.
The Best Paint Brush to Use for Fence Painting
The size and type of painting brushes vary according to their intended use. A 3″ paintbrush or larger is ideal for painting wooden fences. Smaller brushes can reach the fence’s smaller sections and edges for a neat, uniform, and detailed finish. The brushes listed below are the best for painting a wooden fence.
- The Electric Graco Magnum X5
- Wooster lambs’ wool
- King Origin Heavy Duty Paintbrush
- Wooster, Bravo Stainer
- Linzer Stain Waterproofing paint brush
- Purdy white dove mini roller.
Multiple brushes are used in painting a wooden fence; it helps to have a variety to select from.
How to Paint a Wood Fence:
You must follow a guide whether you are applying new paint or repainting a wooden fence. Following on from the seven painting tips mentioned above, here is a step-by-step guide to painting a wood fence:
Step 1: Prepare the area.
Overgrown shrubs and bushes must be pruned, and grass must be cut short to allow for adequate working space. Remove all moveable objects from the area and neatly pin the flower beds together. To prevent staining by paint toxins from the wet fence, cover all surfaces with plastic sheets, plywood, or tarps before painting.
Step 2: Repair and clean the fence.
Scraping the peeling paint from the horizontal and vertical panels is an important step in preparing the fence for painting. Clear cobwebs and dust after removing rusty nails, old paint, and decor. A good pressure washer wash will ensure that the fence surface is as clean as possible.
Step 3: Sandpaper the fence.
When painting over an old coat, smooth out the rough areas of the fence posts and fence boards with sandpaper to ensure the fence surface is smooth and ready for painting. Sandpaper can also be used to prepare a new fence for painting. A new fence may come pre-polished, eliminating the need for sandpaper.
Step 4: Apply the first primer layer.
There are a few advantages to using a primer. It is irresponsible to skip this step. A primer layer will help keep the wooden fence from becoming moldy. Aside from preventing mold, the primer layer serves as an excellent adhesive for applying paint. Apply thin, even layers of primer to the wooden surface with a brush or roller. Before continuing, make sure the coat is completely dry. It takes at least a few hours.
Step 5: Apply the First Paint Coat
Vertical panels require horizontal strokes to apply the first coat of paint to the same area using a brush, whereas horizontal panels do not. The same holds when using a paint sprayer. Painting in the direction of the grain produces a smoother, more distinct finish. Paint from top to bottom to ensure a neat, even coat. Pay close attention to detail and paint all of the hidden corners. To achieve an even layer, apply a heavy coat where necessary. Allow the paint to completely dry.
Step 6: Establish whether you need a second coat.
Depending on the color and amount of paint used, a second coat may be required. Most wooden fences only require a single coat of paint. Once you’ve determined that you need a second coat, paint it using the same steps as you did for the first. Allow the second coat to completely dry.
Step 7: Remove the plastic sheet.
After you’ve finished painting and the coat has completely dried, you can replace the moved moveable objects, unpin the flower beds, and remove the plastic sheeting, tarps, and plywood that were covering the surfaces.
Step 8: Clean your tools.
To remove paint residue, clean the used rollers and brushes. To help monitor its validity, clean up the used plastic sheeting, cover the leftover paint with a lid, and label the date it was last used. Paint and brushes should be kept off the floor and away from direct sunlight.
When is the ideal time to paint a wood fence?
Summer and fall are typically better times for fence painting. High temperatures are preferable because the paint dries quickly. Direct sunlight may cause the paint to dry out too quickly, leaving a weak layer that wears off quickly. Allowing the paint to soak in works best. Working in the shade can aid in producing better results.
Call Us For Your Fence Painting Needs
Beautiful fence painting services are available to residents of Dayton, Ohio. Why not have an expert from The Ohio Painting Company repair and repaint your old fence or apply a new coat of paint to a new fence to protect it?
Our Dayton office is located at 978 Irving Ave., Dayton, OH 45419. Contact us at (937) 409-4443 for a free estimate and wooden fence painting worth having.