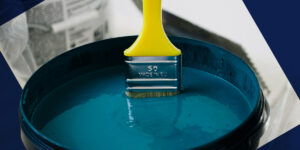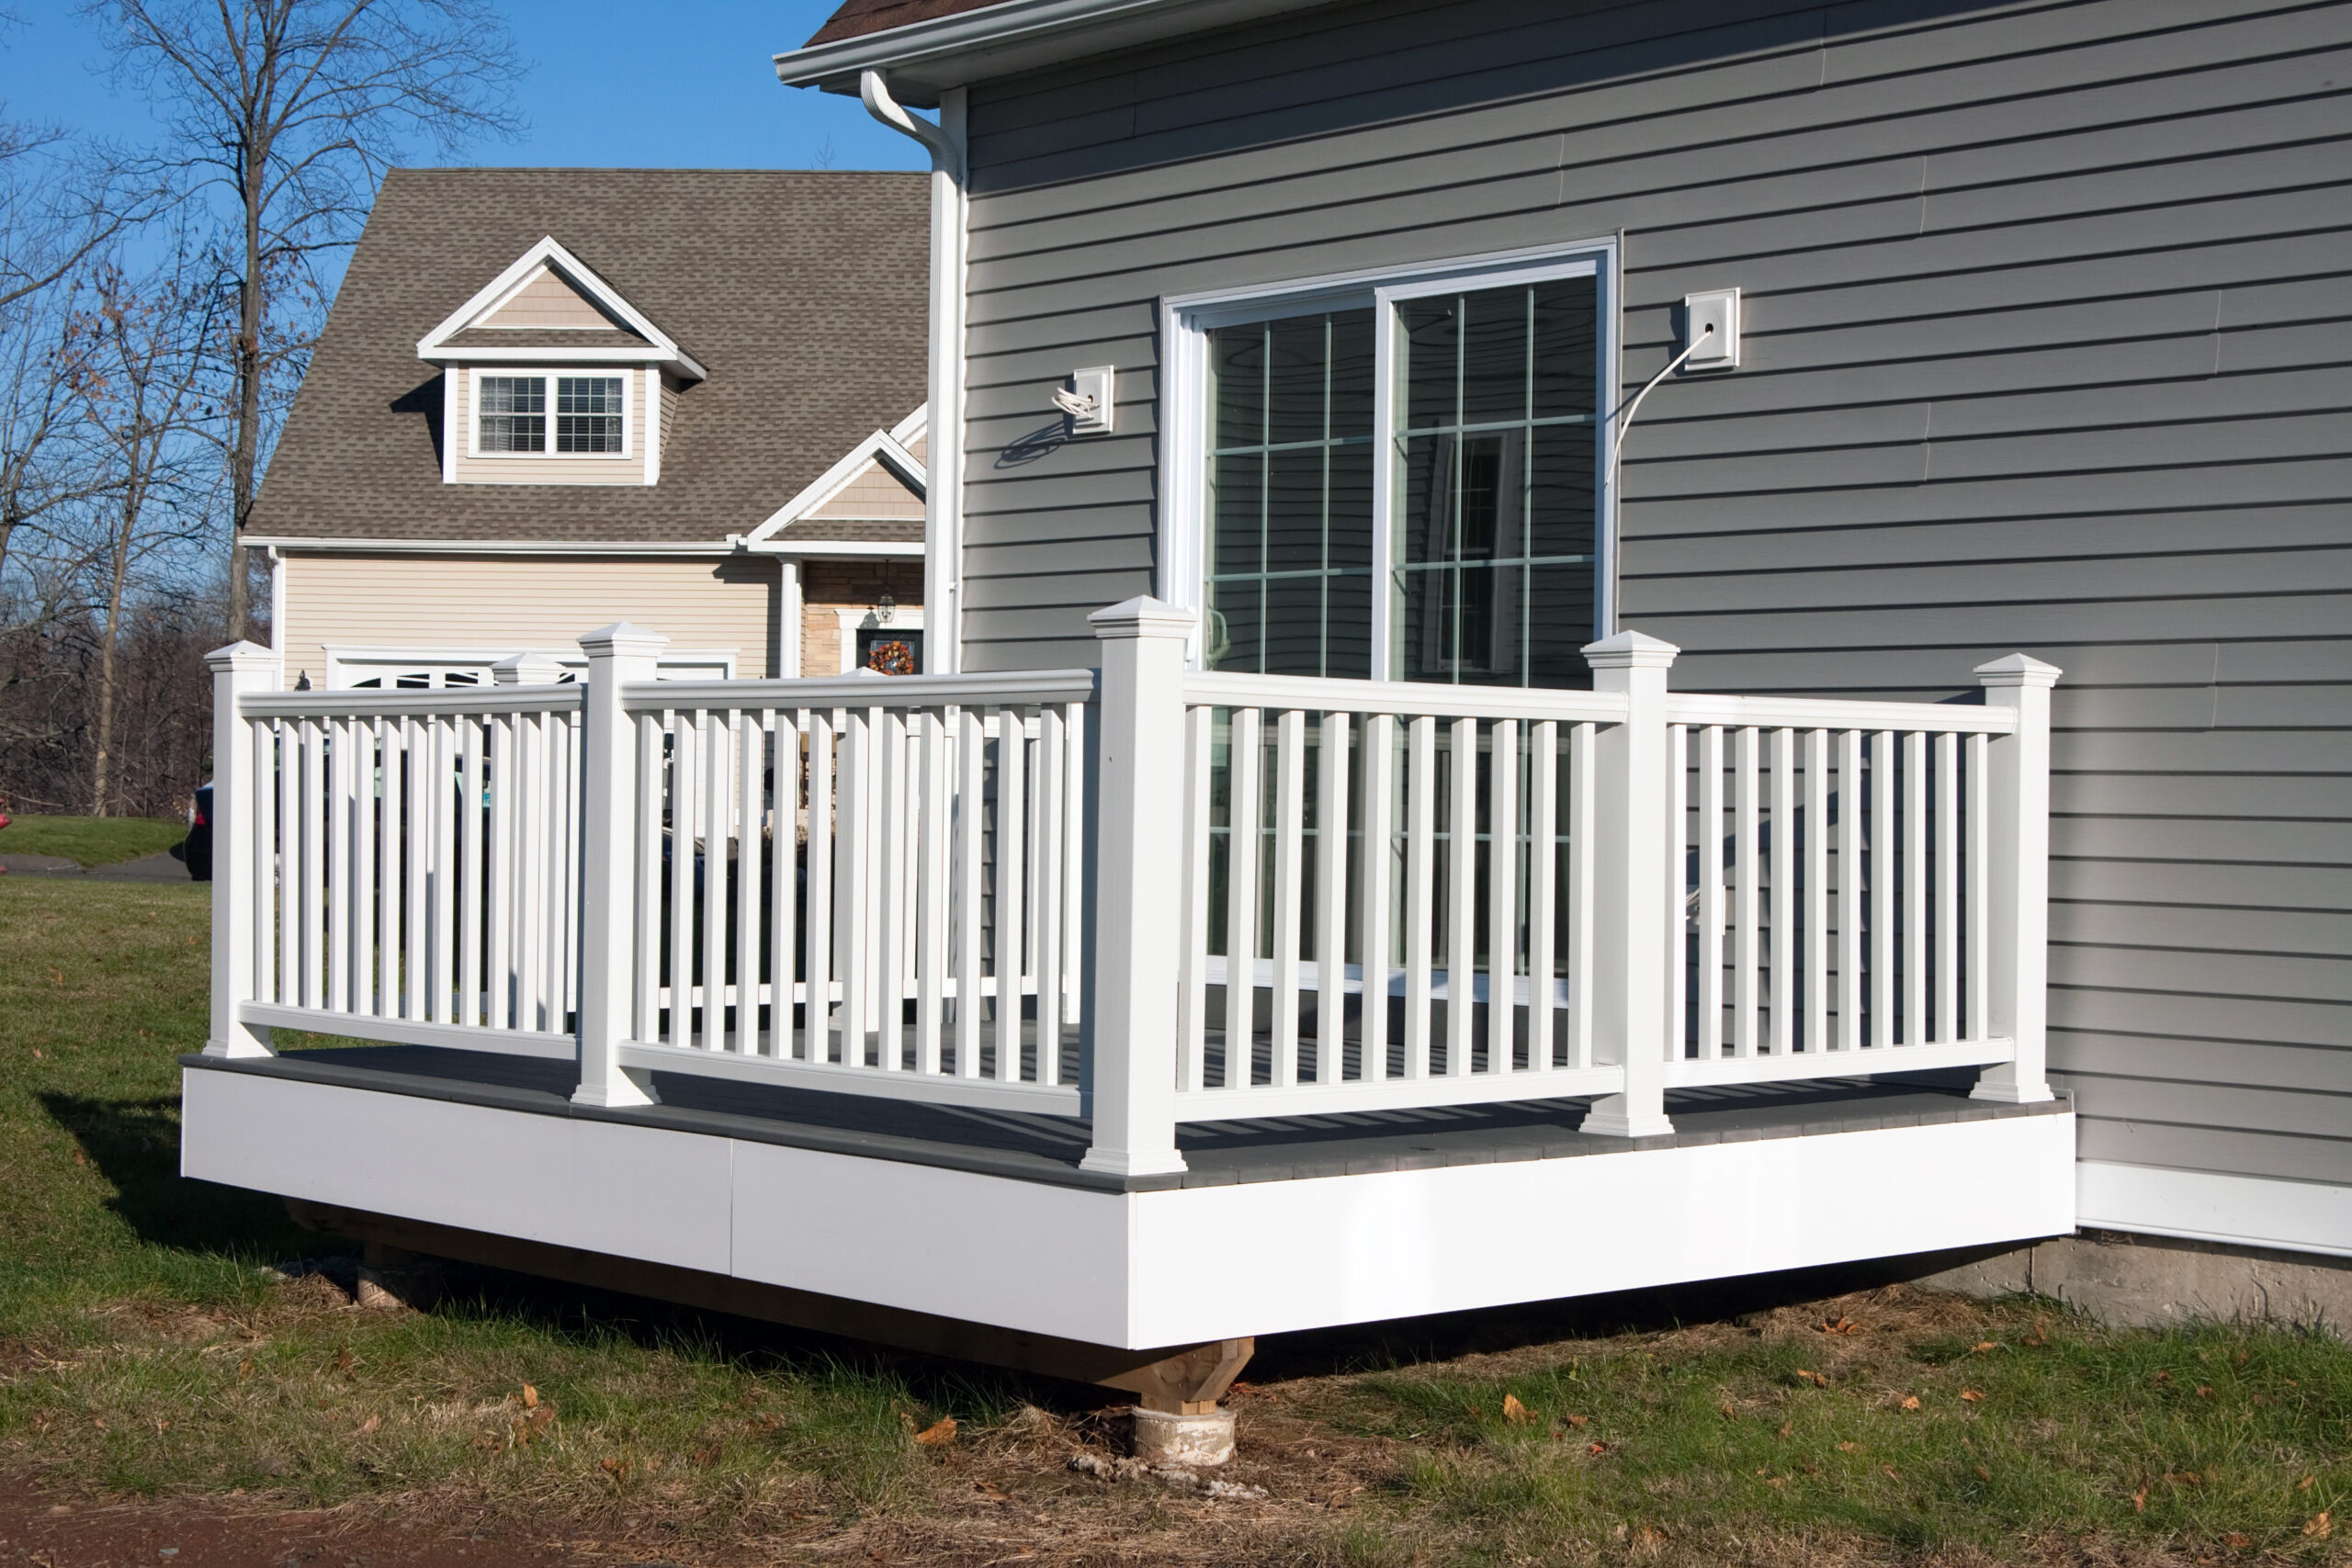

Painting and staining wood surfaces outside are excellent ways to update and protect them for long-term use. Allowing a professional to paint or stain your deck will protect it from moisture rot, heavy foot traffic, and intense UV radiation.
Professional painting services can only help to extend the life and enjoyment of outdoor structures like porches, patios, pergolas, fences, and decks. Regardless, this blog will teach you how to paint your deck the best way possible. Surface preparation is the key to a successful deck painting project—a traditional summertime project. Deck staining also helps to protect timber fences, structures, and decks from the elements, particularly the harsh Ohio winters and rain. To be certain that your deck is ready for painting, consider the following factors: dry surface, clean, and free of loose paint. To prepare your deck for painting, carefully scrape away old paint with a scraper.
Steps to Paint Your Deck
Although it’s not difficult to paint a deck, these few pointers will be helpful. Follow the step-by-step procedure to have your deck painted.
Step 1: Clean Your Deck
Before painting or staining a deck, whether or not it’s brand new, you must thoroughly clean it. There are deck cleaning products that you can apply with a garden hose dispenser, pressure wash, brush using a utility broom or other brush, and then wash off.
Ensure to have the following procedure at the back of your mind when cleaning the deck.
- Deck cleaners: it’s essential to use a general-purpose deck cleaning solution to wash the deck and remove filth, dust, and debris.
- Deck brighteners: Use this wood-bleaching product to eliminate stains and black splotches that could otherwise show through a fresh coat of stain on unpainted wood decking that has grayed irregularly over time.
- Remove mold and mildew: Before painting the existing deck, make sure to apply a cleaner that contains a mildewcide to prevent the growth of mold.
- Avoid using a power washer: While power washers are fantastic for blasting away dirt and debris, their high-pressure water jet can rip pieces of decking out. Therefore, use a stiff nylon-bristle brush to scrub the deck after using the cleaning solution—provided it’s necessary.After that, to remove the cleaning solution, use a garden hose with a jet nozzle and let the deck dry completely.
Step 2: Sand And Scrape Your Deck
Before repainting a deck, remove all loose and peeling paint during the process and smooth the rough edges for the most satisfactory outcome.
- Use a wire scrub brush: To remove spray paint, sweep over the previously painted deck. The loosest paint bits are easily removed with a wire brush, albeit it probably won’t get them all.
- Use A Paint Scraper: Ensure to use the flat scraper to remove loose paint bits by putting the blades at a lower angle along the deck and lightly pushing it in the same direction.Although this is a difficult scraping technique, it is critical to avoid gouging the wood with the blade. Use a curved scraper with a blade that has a moderate arc at the end and pulls rather than pushing.
- Don’t Neglect Sanding: Normally, it is rare for only scraping to remove the paint from a new deck; large patches of stuck-on paint are likely to remain on the board after removing loose paint, but that’s good because the new paint will still adhere if the old paint isn’t peeling.
It would help if you still sanded to round the corners where painted surfaces meet bare wood.
Step 3: Finish Up With Paint
This is the last and smallest step after all the other preparation. Meanwhile, apply painter’s tape to the surrounding areas of a house or garage before opening the paint or stain can.
It is essential to think about the tools you will use to apply the new finish.
- Paint Roller: A paint roller is ideal for applying fresh paint because it applies a consistent coat of paint and expedites the painting process. Also, it is simple to apply because there is a connection between the roller handle and an extension pole.
- Stain Pads: This tool is a way to apply stain to an unpainted wood deck quickly; it features absorbent material like foam and the ability to attach an extension pole.
- Hand Brushes: When painting the deck railing or other small areas where a roller won’t fit, keep a few brushes on hand for quick touch-ups.
It’s important to take notice of the wood underneath the deck to paint it in a case where it is reachable. Otherwise, if the board is not well sealed, moisture may seep into the wood and shorten the lifespan of the entire deck paint applied.
Nevertheless, it would be best if you call for the services of professional painters in Dayton, OH.
How to Repaint Your Deck
Over time, weather and wear and tear from daily use will cause paint to fade. It’s recommended to repaint or restain your deck every 2-3 years to keep it looking fresh and keep color or stain looking vibrant. When it’s time to repaint your deck, here are the steps to take:
Step 1: Scrape Off Old Paint
If your old paint is chipped or peeling, it can prevent new paint from bonding with your deck. Start by clearing the deck of any dirt or debris, and moving any furniture out of the way. Then, you’ll want to use a paint scraper to remove old paint back to the wood layer. For staining, you will want to either remove old paint or sand down the deck to remove the existing stain.
Step 2: Check For Loose And Damaged Boards
Before you start painting or restaining, it’s also a good idea to check for any boards that could be damaged or loose. If you notice any loose boards or nails that stick out, you can easily fix this with a hammer and nails. For any cracks or divots, wood putty is a great option to fill in any imperfections and create a smooth surface for painting.
If you notice that any boards seem to be beyond repair, or if they could be rotting – we recommend removing the board and replacing it with new wood. If you do not replace the board, you could run into future issues or your finished project may not turn out as well as it could.
Step 3: Wash Your Deck
If you are repainting or restaining, you will likely have some mess left over from sanding or scraping. You should wash your deck to remove any lingering dust, dirt or chips that could get in the way and make it hard for the paint to properly bond to the deck’s surface. You can use warm water with a deck brush or you can use a power washer if you are comfortable using one. Optionally, you can also treat your deck to help prevent mold, rot or excess moisture in the wood itself. Beyond keeping your deck in pristine condition, this can help your new paint stick better!
Step 3: Painting Preparations
Before you start painting, make sure to protect the areas around your deck:
- Apply painter’s tape on surrounding walls, doors and windows to protect them
- Apply drop cloths to any areas of the deck and yard that you do not want to paint or stain
- Cover any bushes, shrubs or flowers to prevent any paint spills from harming your plants
- Apply primer to your deck to extend the life of your new paint
These preparations will help you keep the area clean and create a smooth finish.
Step 4: Apply New Paint or Stain
At this point, it’s time to start painting. To achieve the best results, you will want to:
- Use a roller for large areas. This will help you quickly and efficiently cover the large deck area with a fresh coat of paint.
- Use a paintbrush for detail work and hard-to-reach areas. To achieve the best results, paint brushes are great for applying paint or stain in narrow areas – such as between the boards of your deck or around curved edges.
- Let the first layer fully dry. Depending on the paint manufacturer, drying times can vary. 2 hours is generally enough time for the first layer to fully dry, but you should always read the recommendation on your paint or stain.
- Apply a second coat. The second coat will ensure that your deck is fully saturated with color, leaving you with a vibrant new deck. If you are using a lighter color, you may need another coat or two until you are satisfied with the fully dry appearance.
With the final coat fully dry, you can return any furniture and enjoy your freshly painted deck!
Paint Your Deck With The Ohio Painting Company®
As a professional painting company, we are experienced in painting and staining decks for homeowners and businesses in Cincinnati and Dayton, Ohio. We provide high-quality painting services and can provide expert consultations to help you pick out the best paint or stain to match your home perfectly. If you are a local resident and are interested in any of our services, we encourage you to call us at (937) 409-4443 or book your painting estimate online today!